When starting a new DIY floor project, you need to take a lot of small details into consideration. In the process of planning out the perfect layout, you might miss something and then have to go back and reconstruct an already finished project. So you might as well be prepared with learning all the common mistakes that people make before, during and after installation. We have selected the key aspects to keep in mind while getting ready for this important project.
Uneven Layout
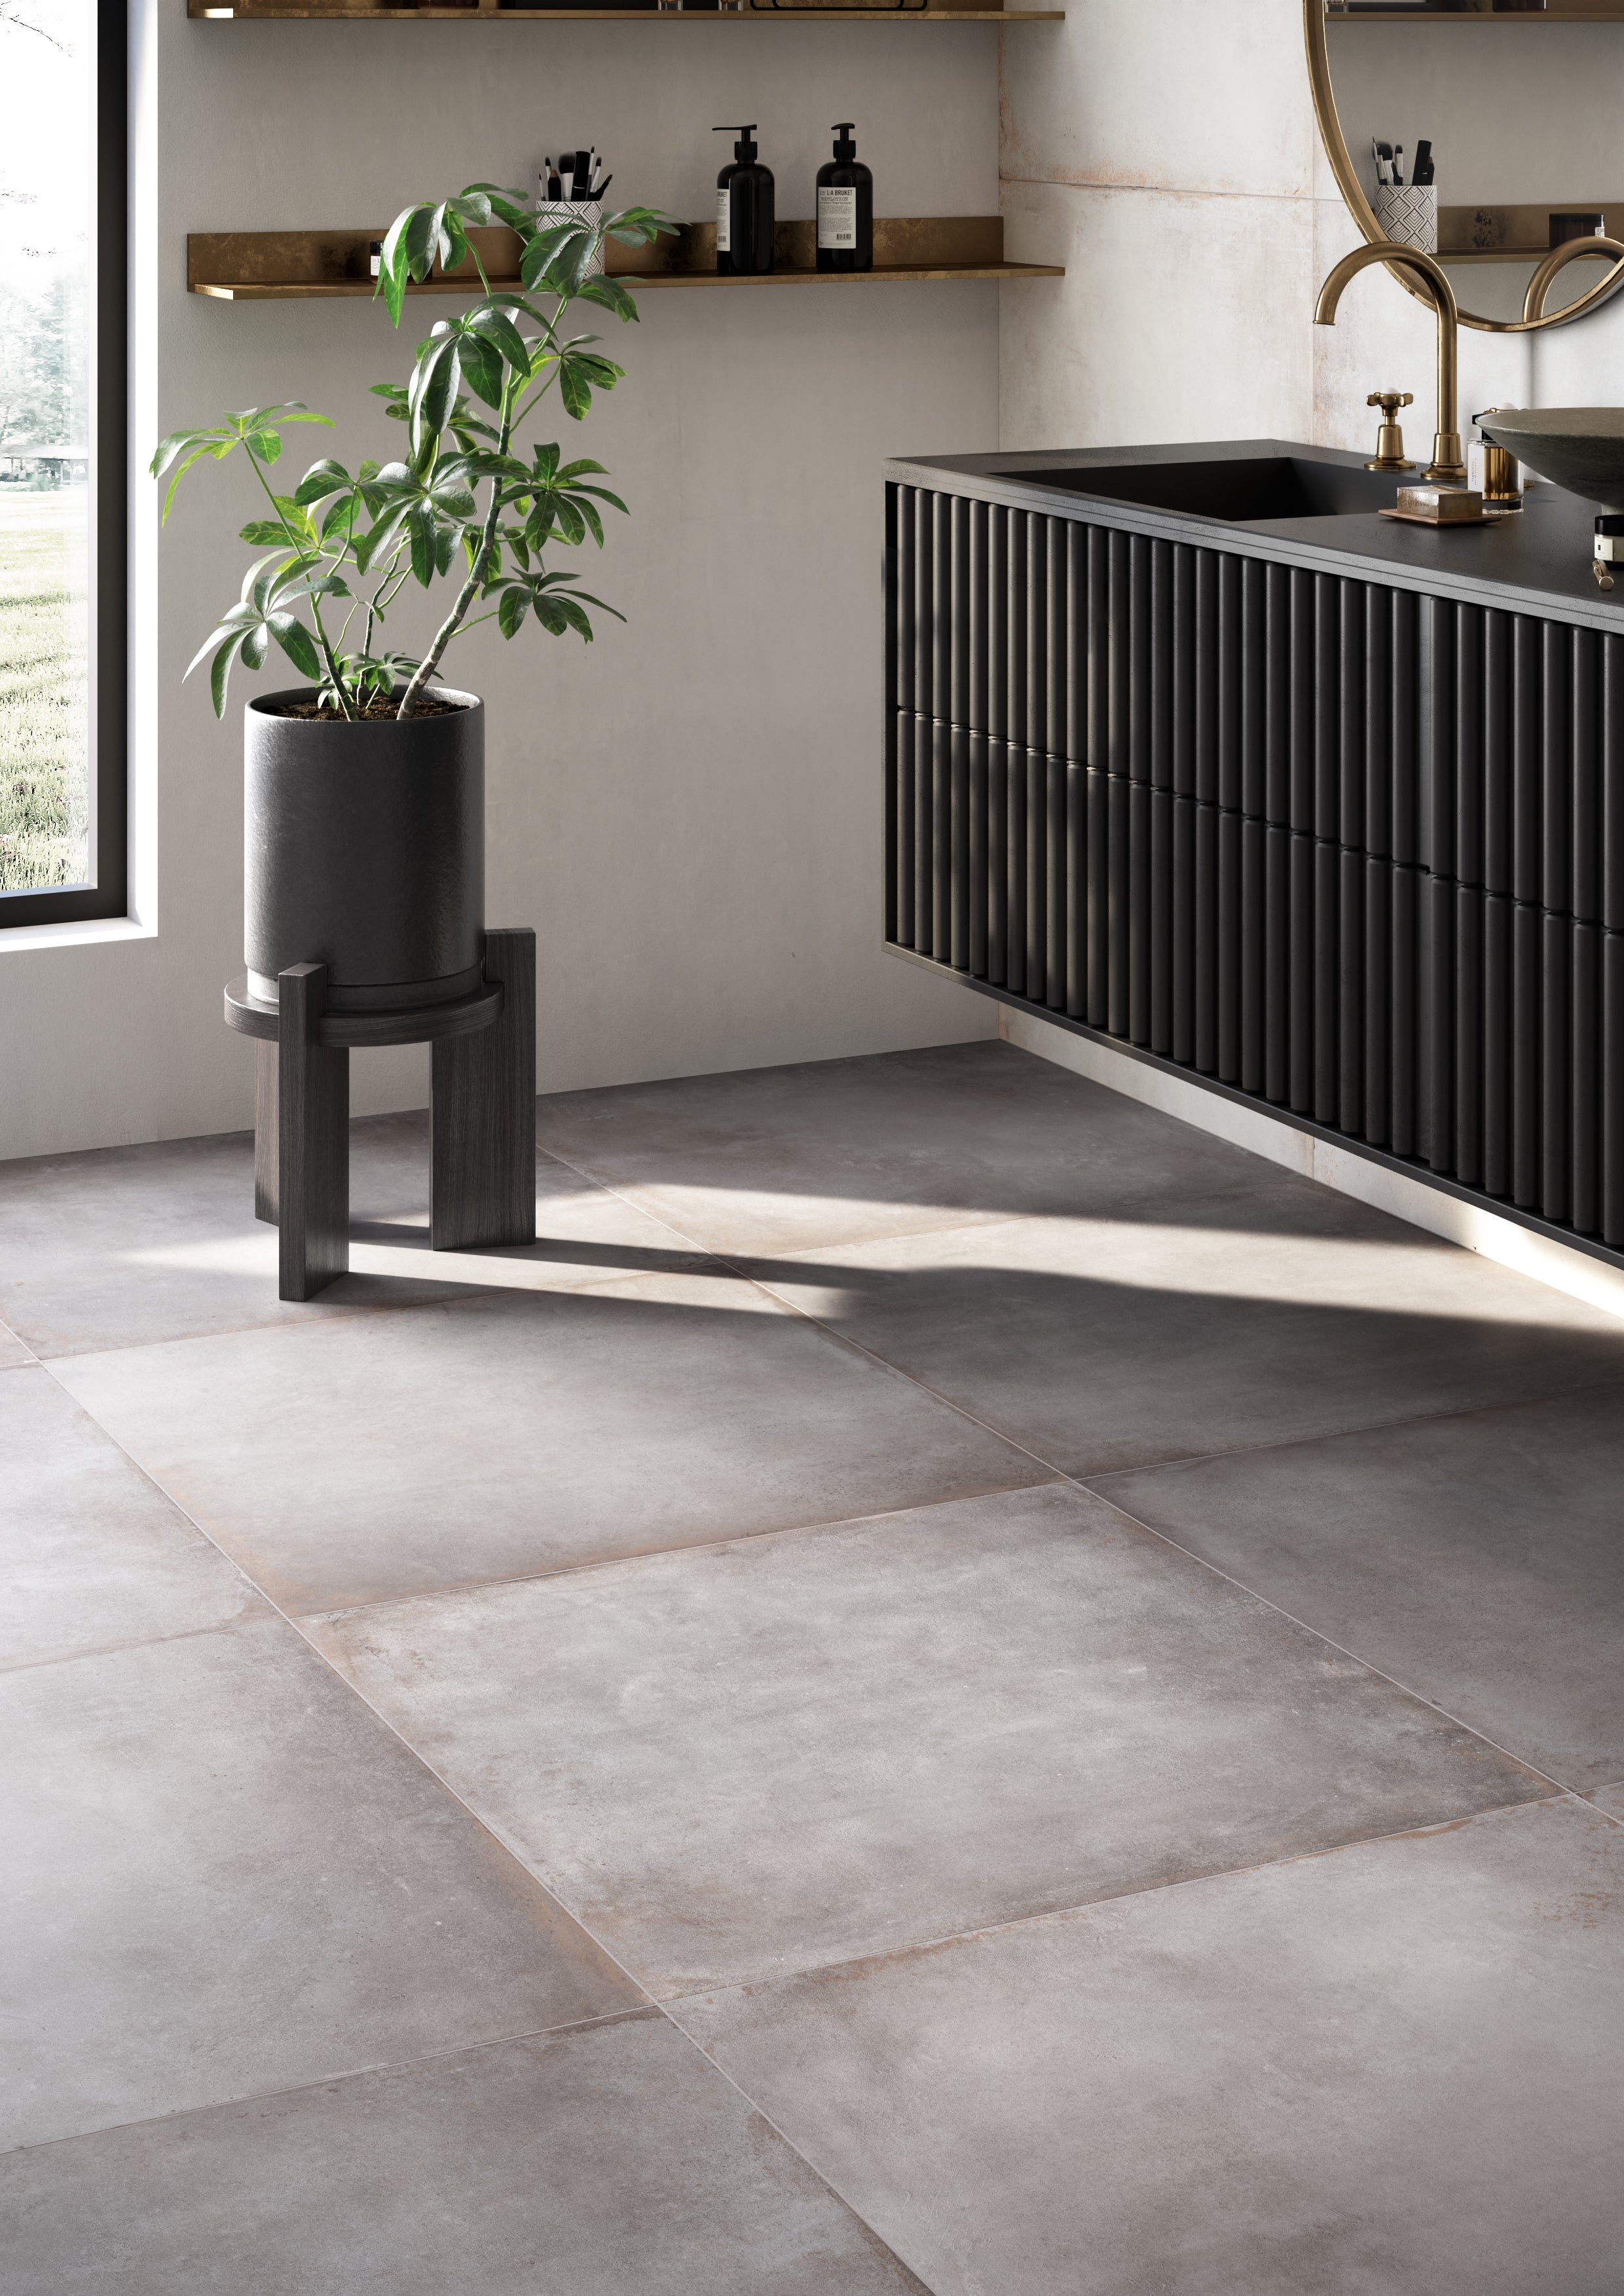
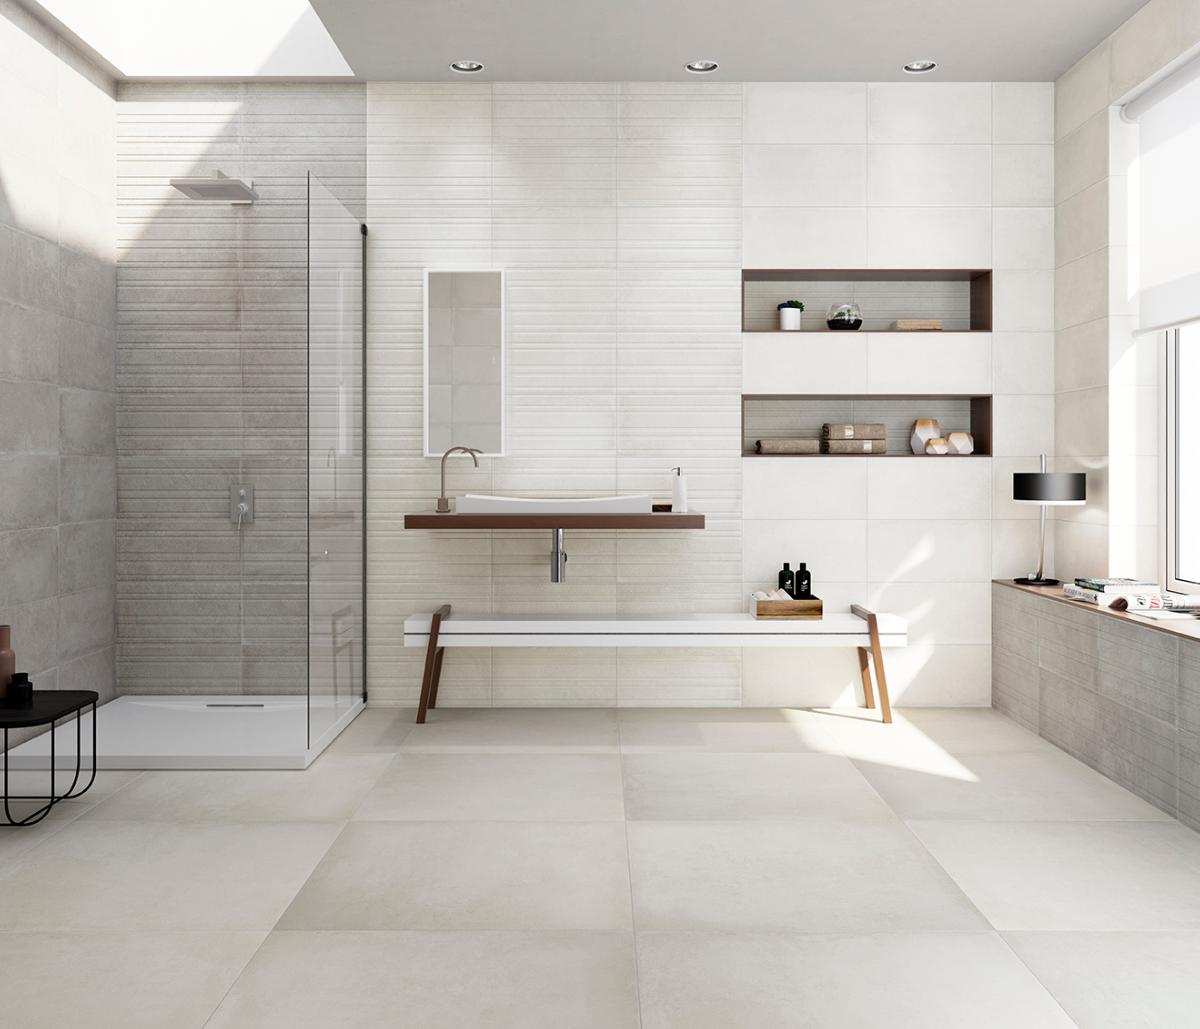
We mentioned this crucial step in our ceramic floor tile installation article and we have to underline its importance again. For floors that are not only sturdy but also beautiful to look at, you need symmetry. To achieve it you need a solid layout plan by dry laying the tiles on the surface and cutting some of the excess. The secret to cutting away tiles is to strive for a balanced floor plan that maximizes the number of whole tiles. The amount of cutting should be brought to a minimum and dispersed strategically around the room. Make sure to plan your furniture positioning too because it would help you navigate when choosing which tiles to cut and which to keep whole. Placing the cuts hidden under vanities and cupboards and away from the line of sight is the best solution for a seamless looking floor plan.
Tile Breakage
Learn how to cut tiles without making too much waste and excess breaking. Depending on the material, some tiles are more fragile and will need extra care when handling. You could easily break the tiles you are trying to cut and then not have enough to finish the project on time. That is why you shouldn’t do anything without marking with a pencil first. For best results start using a manual cutter or an electric one. If you are going to use an electric wet saw for some cuts, you need to practice holding firmly the tile parts as they seperate. This technique is what keeps the tile from breaking. The small snap cutters are often not suitable for effectively cutting away bigger chunks and often damage the tile if not used properly.
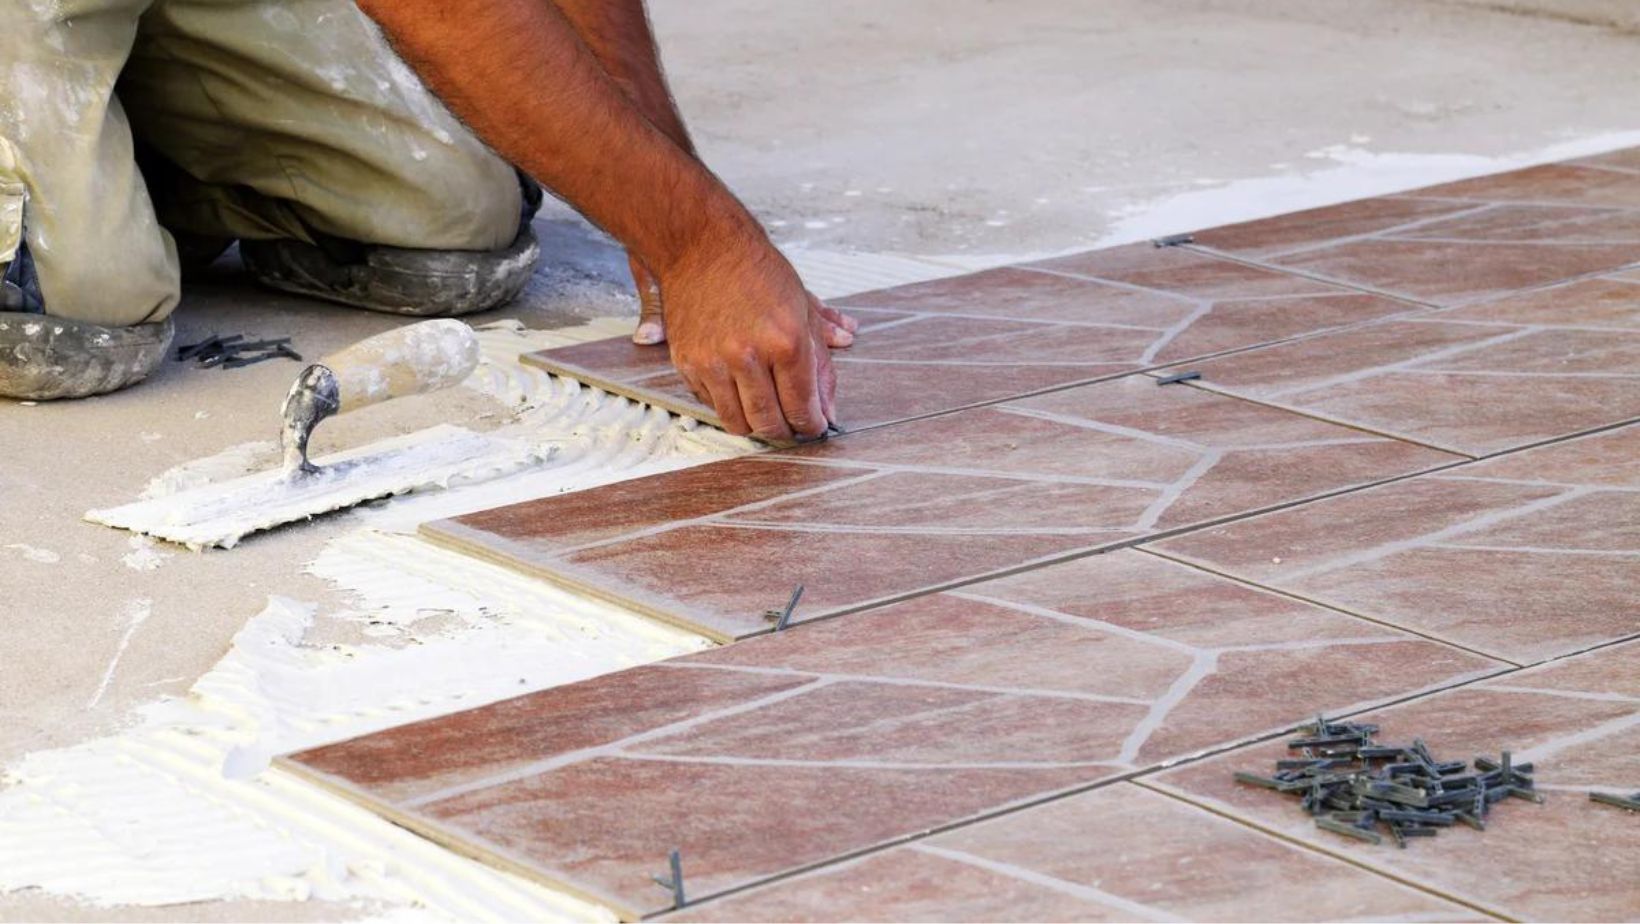
Not Enough Tiles
Not having enough tiles to finish the project is an unwanted outcome from either not planning well or breaking too many tiles in the process. As much as you want to avoid it, it would be better to prepare with extra material in case something doesn’t go according to plan. You can estimate the amount of tiles you will need with a simple equation. Start by calculating the square footage of the area of tiling. Then divide the square footage of the box of tiles by the area’s square footage. The number will show you how many boxes you need to purchase but now you have to calculate and add the extra boxes needed to cover cuts, breakage and waste. Multiply the square footage of the area by 10%, add it to the total square footage and then divide by the square footage of the tiles’ box.
Or a simple Golden rule- always add 10% wastage on top of your order. In general, most of the customers end up using the wastage, especially if tiling on their own. In other cases, not frequent, but still, the tiler might have installed the tiles in a different way than previously discussed or might have done something out of your expactations, in which he needs to re-do some areas and he will need these 10% wastage. It will be cheaper to re-assure yourself with adding some extra square meters at the time of purchase, than paying £20-60 for delivery just for the extra 2-3sqm that you will need.
Also, in the future, a tile can break if hit hard by something and it will be a good idea to have a replacement in your garage. Often you may not be able to buy the same tile if it gets discontinued,
Wrong Trowel Size
You need to think about how the trowel size should match the size of the tiles you have picked out. Otherwise a wrong trowel size could create more difficulty for the installation process. The right trowel will help you evenly spread the necessary thinset for the tiles. For example a large tile requires thick thinset base and to create that you will need a trowel with deep ridges. So remember that a thinset made for large format tiles is spread the best with a large trowel and vice-versa.
Wrong Underlayment
To get an even and smooth floor you need a solid underlayment that doesn’t sink or bulge. You have to be careful when trying to achieve the perfectly flat surface.The wrong type of underlayment won’t provide the needed support to the tiles and will likely double your work. The good old cement board is always a valuable solution that can prepare your projects for years of heavy traffic with no cracking. Depending on how far apart the floor framing is, you should deteremine whether you need a thicker cement board. For wet rooms you should use a backing board that prevents water from leaking into the surfaces where it shouldn’t be. A universal wet room solution is the cement board which consists of sand and cement and is reinforced with fiberglass.
Wrong Grout
If you want to get smooth and even grout lines and a seamless overall look, you should increase your knowledge on the different types of grout and how to prepare them. There is premixed grout you can buy and start working with directly but most grouts have to be mixed with the right amount of water. The grout should be mixed with a trowel and not with a drill or paddle which only weaken the performance and holding strenght of the material. The grout should have a creamy and thick texture and not one filled with air bubbles. Before using it, make sure you let it rest for about 10 minutes so you can get a strong grout that won’t crack. Also, do not step over for at least 24 hours so to be sure everything stays in place.
Wrong Caulk
For the wet rooms like kitchen and bathrooms you will need to use a caulking gun as the last finishing step. Don’t skip it unless you want moisture spreading inside your floors and causing problems like mold and mildew. You can choose from latex and sillicone, but keep in mind that while latex might be easier to clean up, it’s not as longlasting as sillicone. For a perfect match with your interior and tiles, select a caulk in the right colour. Line both sides of the area where you are going to caulk with masking tape to prevent the product to make a mess and get a clean line. Remove the tape while the caulk is still not fully dried for best results.