This series of articles will give you the basics on how to prepare for a general floor tile installation. Once you get the steps and know what you need to invest in, you can follow our other specific posts on different types of installations. Creating a solid base for your floors is essential in a successful DIY project. For durable results, you need to plan your steps and follow a verified method, confirmed by many professionals. Consider the following advice and select the right kind of materials for your specific project to get the best results.
The Right Tiles for your Project
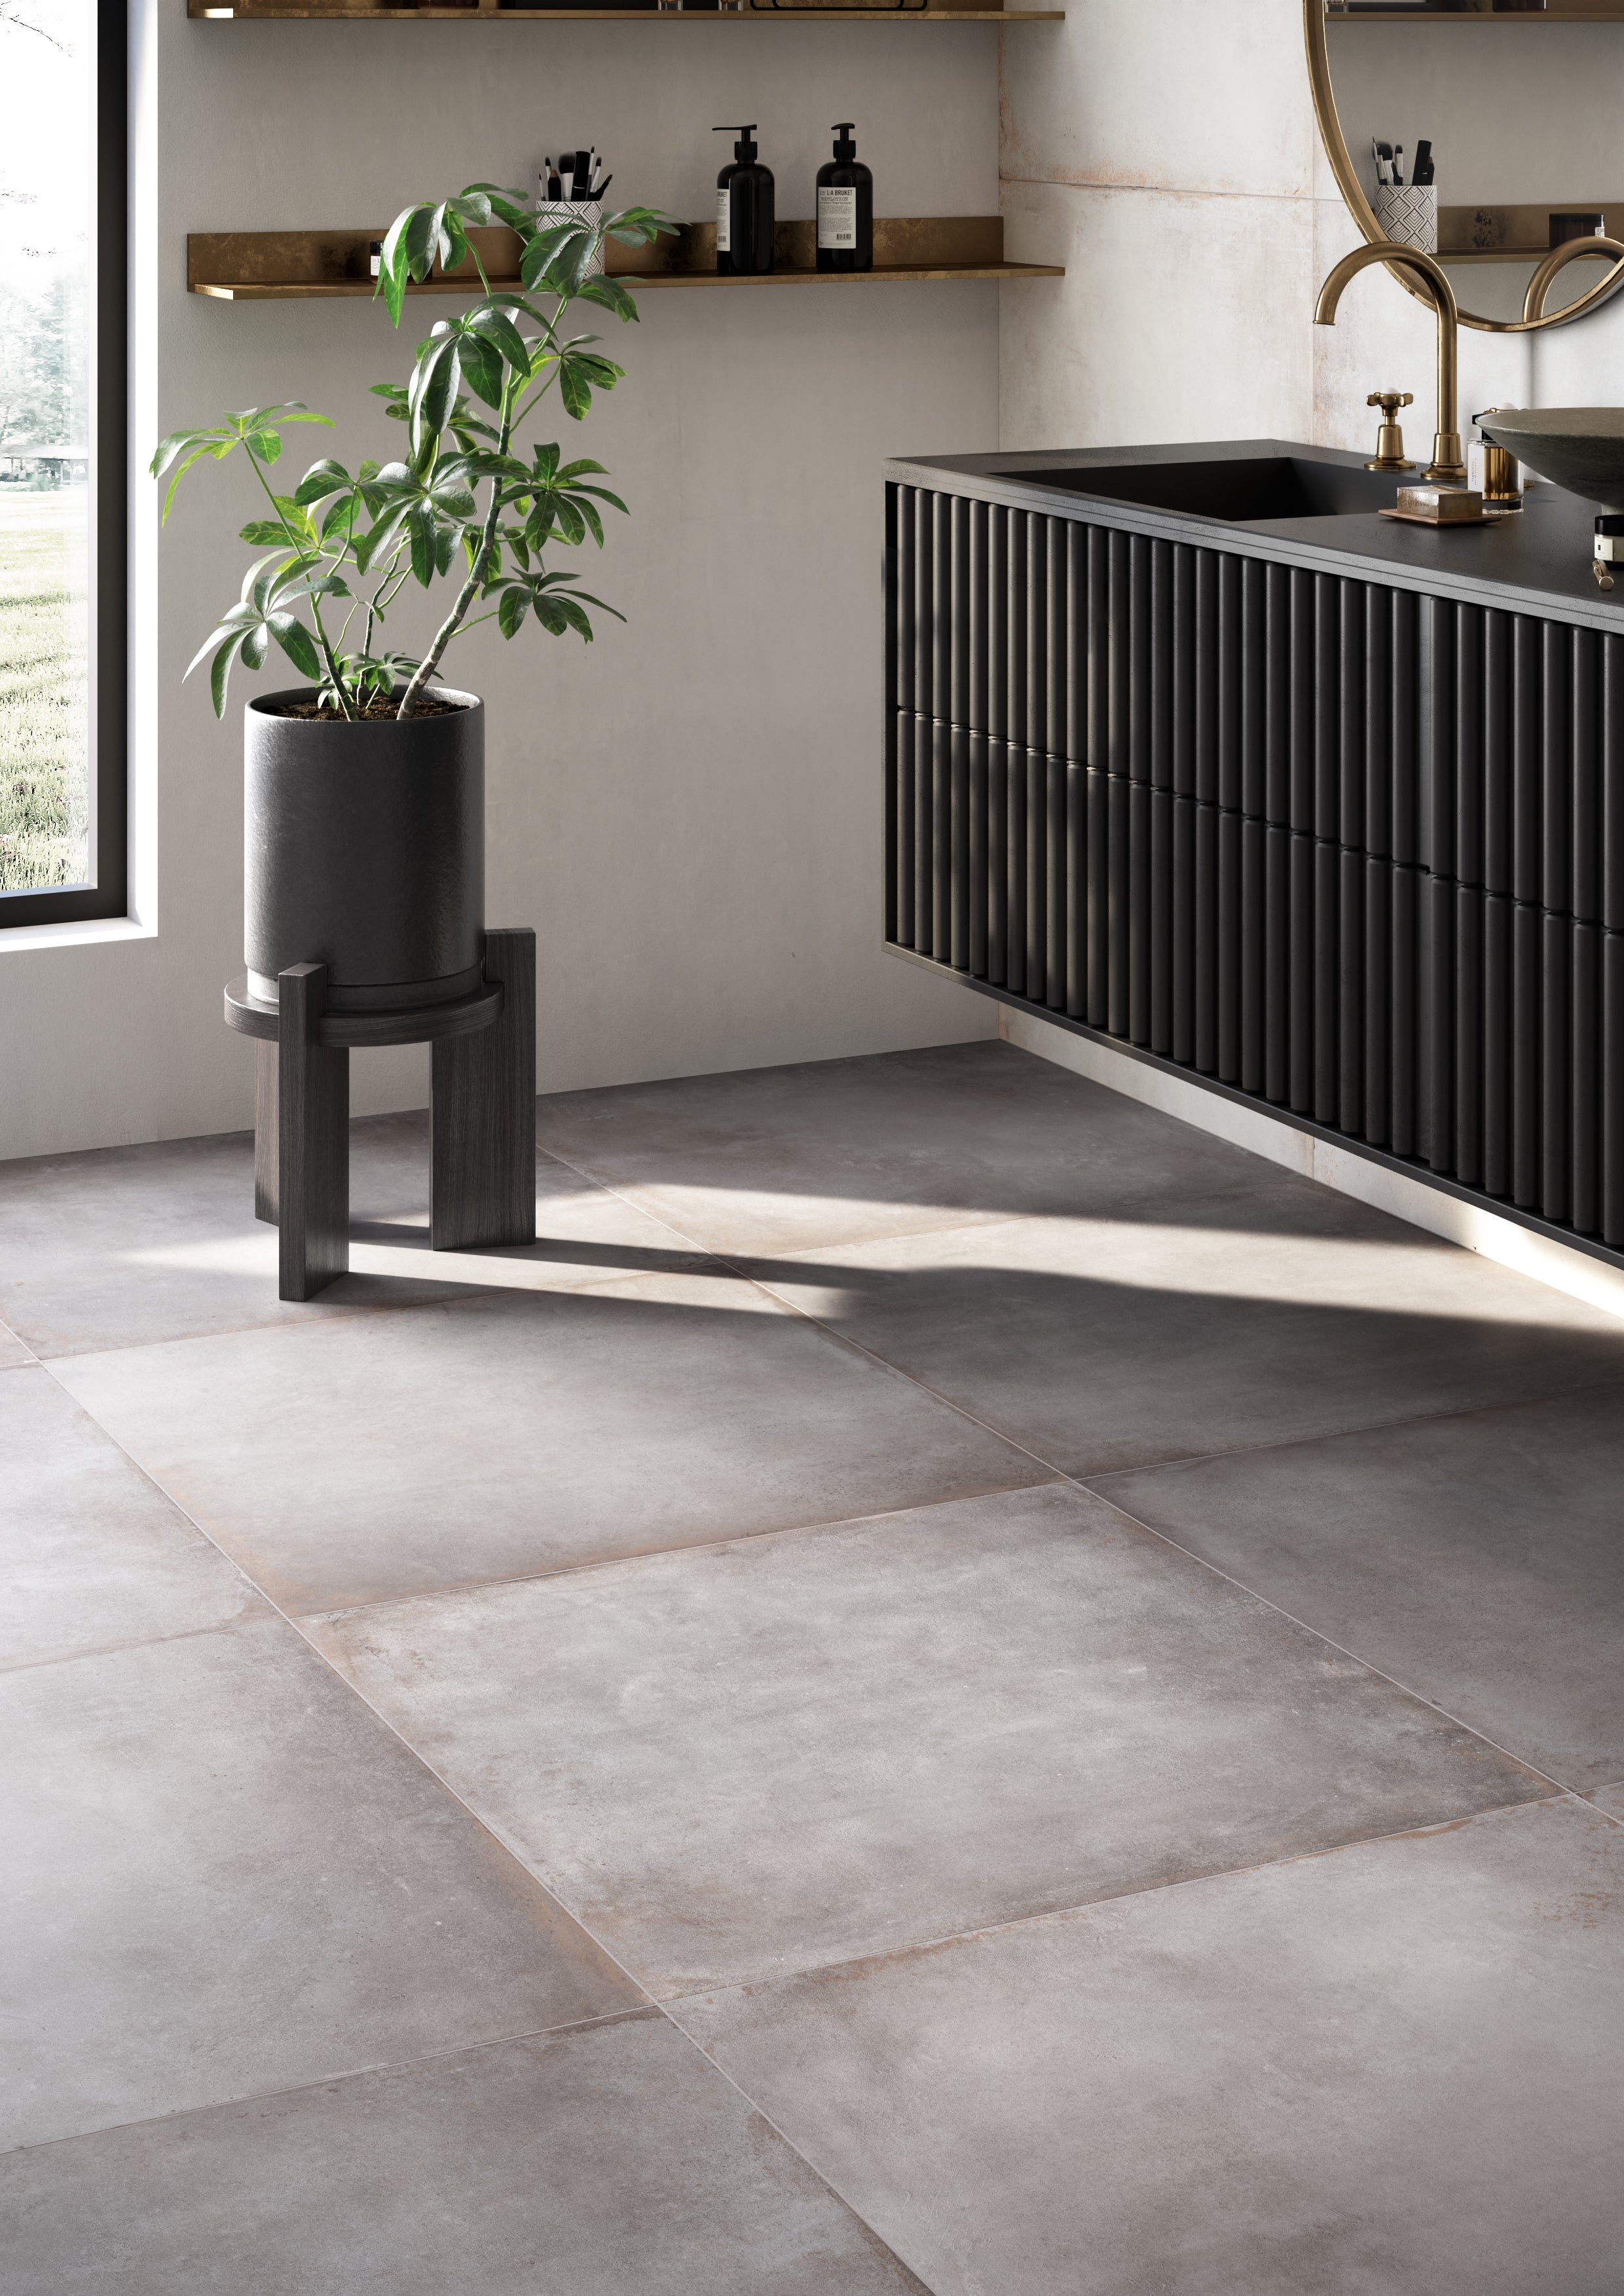
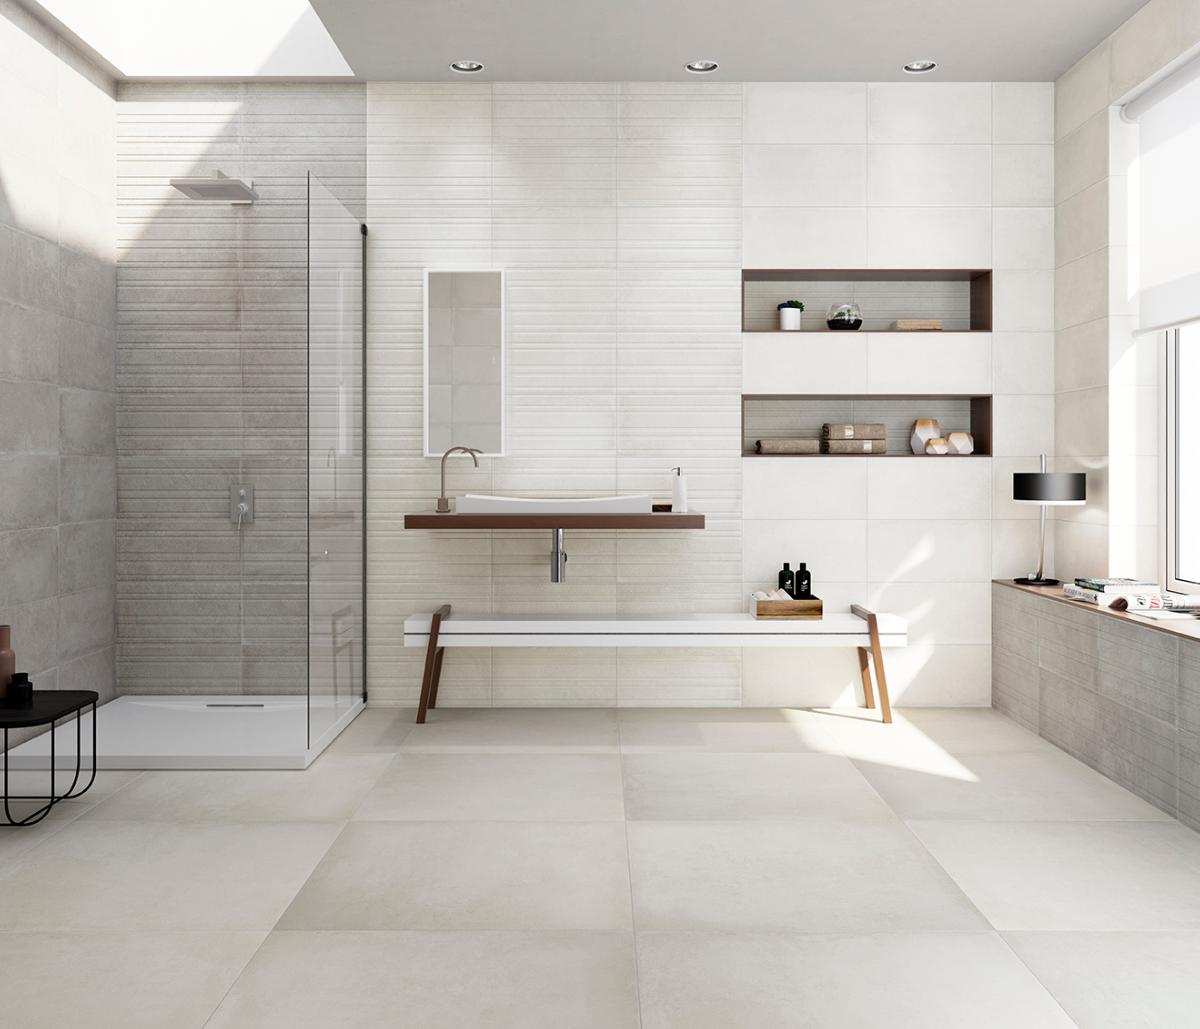
Depending on whether or not you are tiling a wet room, you can have different ways of preparation and installation. Most of all you have to select a tile shape and material that fits the size of the room and has anti-slip or other applicable properties. For example here are some guideliness which you may take under consideration:
- For bathroom floors it is essential to use matt/unpolished tiles that have antislip qualities. Then you can do matching gloss (or matt) wall tiles.
- For smaller bathrooms 4-5sqm etc, we would recommend going for smaller tiles as they are easier to install.
- As porcelain is sturdier than ceramic, it is better to choose porcelain tiles for floors. Ceramic tiles can be used for walls, no problem there. Also ceramic tiles are easier to drill.
- Larger (60x60cm+) and brighter tiles tend to make small and dark room look bigger and brigther.
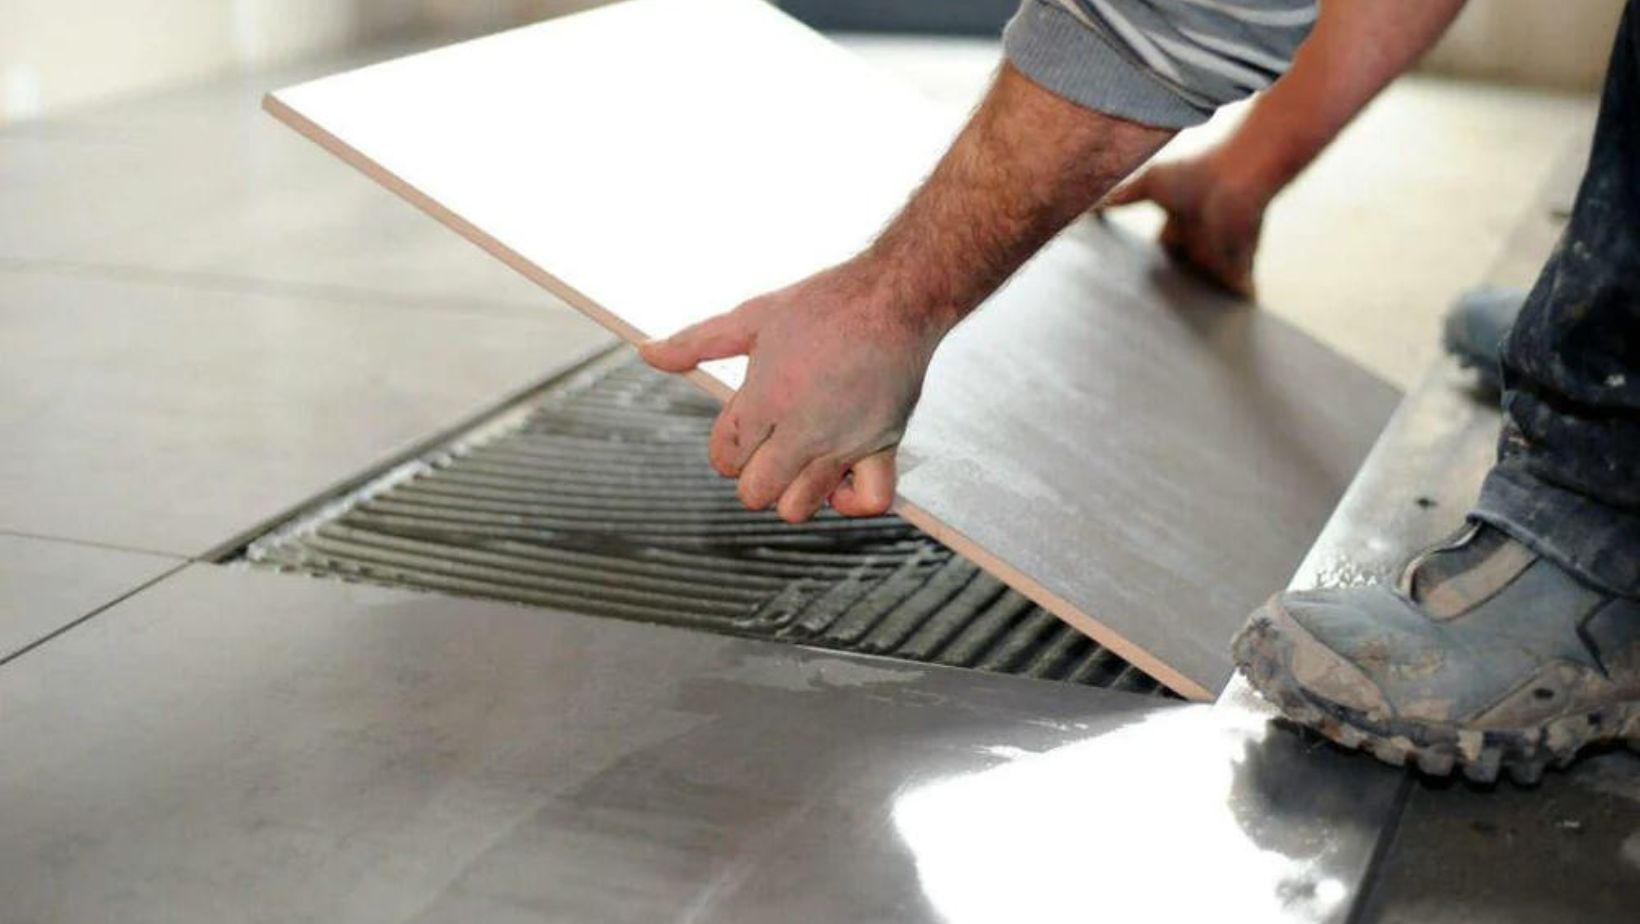
Preparing the Floors
Perhaps the most important step in the successful process is the preparation of the floors. If you have old tiles, now is the time to chisel them out and scrape the floors to remove the residue of old adhesive. You can use a special tool called floor scraper for best results. The perfectly clean and even surface makes a big difference when trying to stick the tiles after so don’t underestimate this step. Wear a protection face mask and prepare for a lot of built up dirt and dust coming out from the old installation. The most essential part of this step is to achieve a levelled surface. To do that you might need a levelling compound.
Types of Underlayment
For great results, first you will need to get a quality underlayment to fully cover your cement or plywood floors. After you do that the tiles will stick effectively and you will have a long-lasting installation. Typically underlayments are either cement or backer boards and vary in thickness and suitability. For uneven floors, you can use self-leveling cement and get seamless results. You can also have waterproof underlayments for wet room applications or membrane for extra preventive action against bending and separation.
The Importance of Adhesive
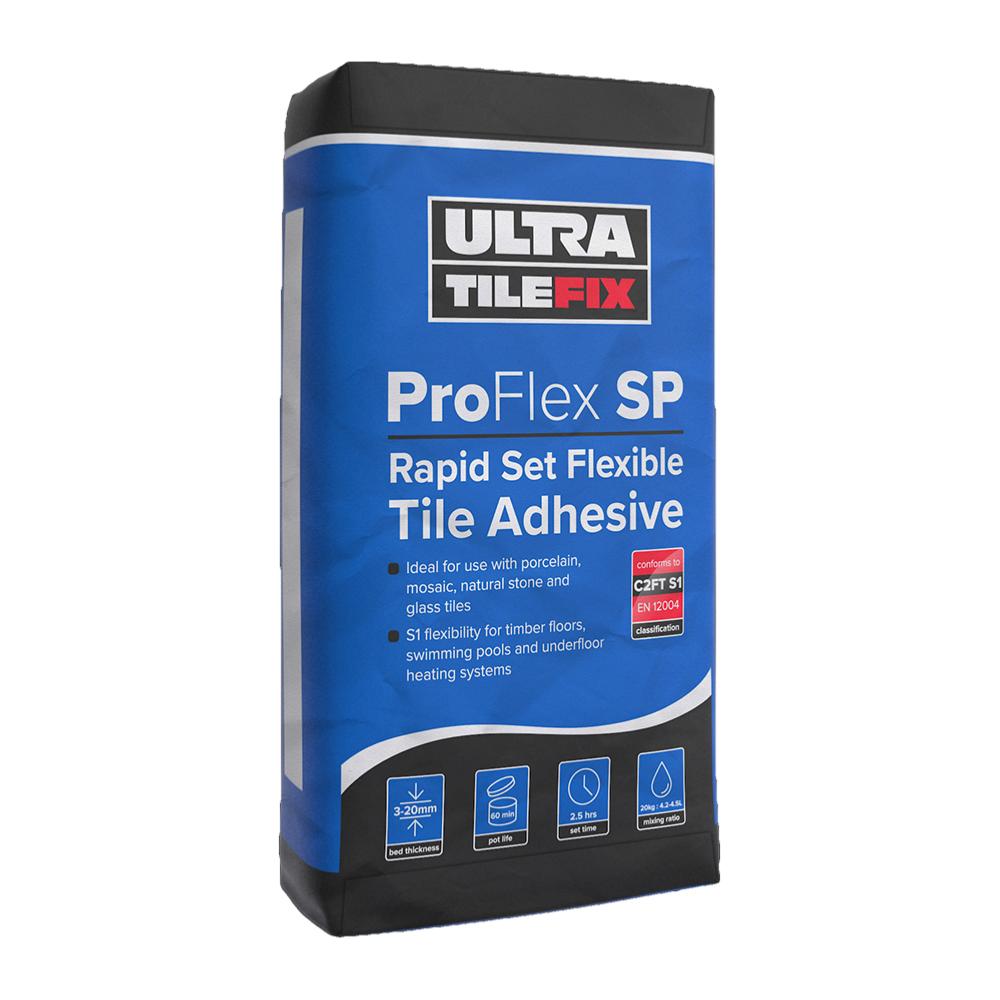
A classic adhesive used to this day is the cement mortar, which mixes sand, cement and water to produce a solid base. You can also have thinset mortar which combines the properties of even finer sand and a water-retaining agent for optimal results. Each one can fulfill a specific project application, depending on the size and preparation of the floors. There are also certain adhesives that also serve as a grout, so you don’t need to buy both.
Picking the Grout
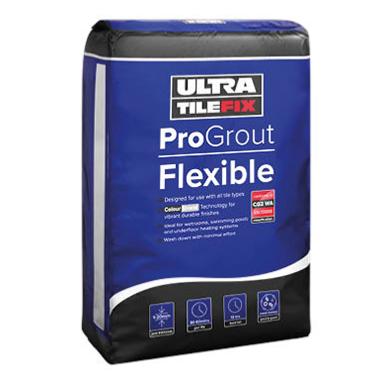
Grout should be selected in accordance with the type of tile material and the premise in which you are applying it. Some grouts are more robust and contain rough particles that wouldn’t fit with all types of tile installations. For example grouts that are also adhesives can be used with stoneware while sanded grout is more versatile in its application. Unsanded grout is suitable for the more delicate glass and polished tiles with smaller grout lines in between. Some grouts can be bought already mixed so you don’t have to worry about that part later.
Planning the Layout
It is essential to plan out every detail of the future application so the process doesn’t need to be reversed when it’s already too late. After you have measured the floors and the adjoining floor height and selected the most suitable tile material, thickness and adhesives, it’s time to start planning. Locate the center of the room and use it as a guiding point when you start laying the tiles down. Draw a cross joining from all walls of the room to the center point. Then apply the tiles from the center in an outward direction with no other materials just to see how they look down on the surface. Once you are sure that the floor is filled up to the corner with no excess spaces, you are ready to start the application.
Getting the Correct Layout
In case you are lining both the floors and walls of the room, don’t forget to first do the floor and then the walls. Your wall tiles will come on top of the floor ones and not the other way around. This mistake could potentially cost you a lot of stress afterwards when the water runs down to the grout joint. You need to have a stable overlap from bottom to top. Once you have prepared and laid down the adhesive, it’s time to tile.
Laying Down the Tiles
Wiggle and apply pressure onto each tile when placing it down on the material. This way you achieve an evenly spread layer beneath each tile. Continue by using spacers in between tiles to achieve consistency in the gaps all around the surface. In the process of applying, you should also try to clean the residue of adhesive from the tiles’ surface and the floor while it's still wet and easy to remove.
Time to Grout
The right type and amount of grout can make your tiles shine brighter and add longevity to the installation. Grout adds colour but also secures the distance between the tiles and unifies them beautifully. It is practical and multipurpose, preventing the tiles from cracking and chipping. Before you start grouting, you need to clean all the adhesive residue and make sure there is no dirt and grease left behind in the grout joints. Use clean water and a dry sponge to get the best results. Now is the time to remove the spacers between the tiles and apply stone sealer if needed. Mix your grout substance or use the premixed product and prepare a clean sponge and a bucket of water for cleaning as you grout. You will need a grout float to apply evenly at a diagonal motion against the grout line.
Refine and Clean
Don’t apply in the direction of the line, because you will most likely push out the material instead of spreading it. Alternate grouting and cleaning with the wet sponge but be careful not to use too much water and damage the pigment. Once you finish the process, you will most likely see a residue called grout haze but you can easily clean it with a grout haze remover after a few hours once it's dry.
One Way out of Many
In the next article from the series we will continue to explore the specifics of a high-quality floor installation. We will go through some of the differences of materials and methods of installation so you can fully understand what it takes to build the floors of your dreams.