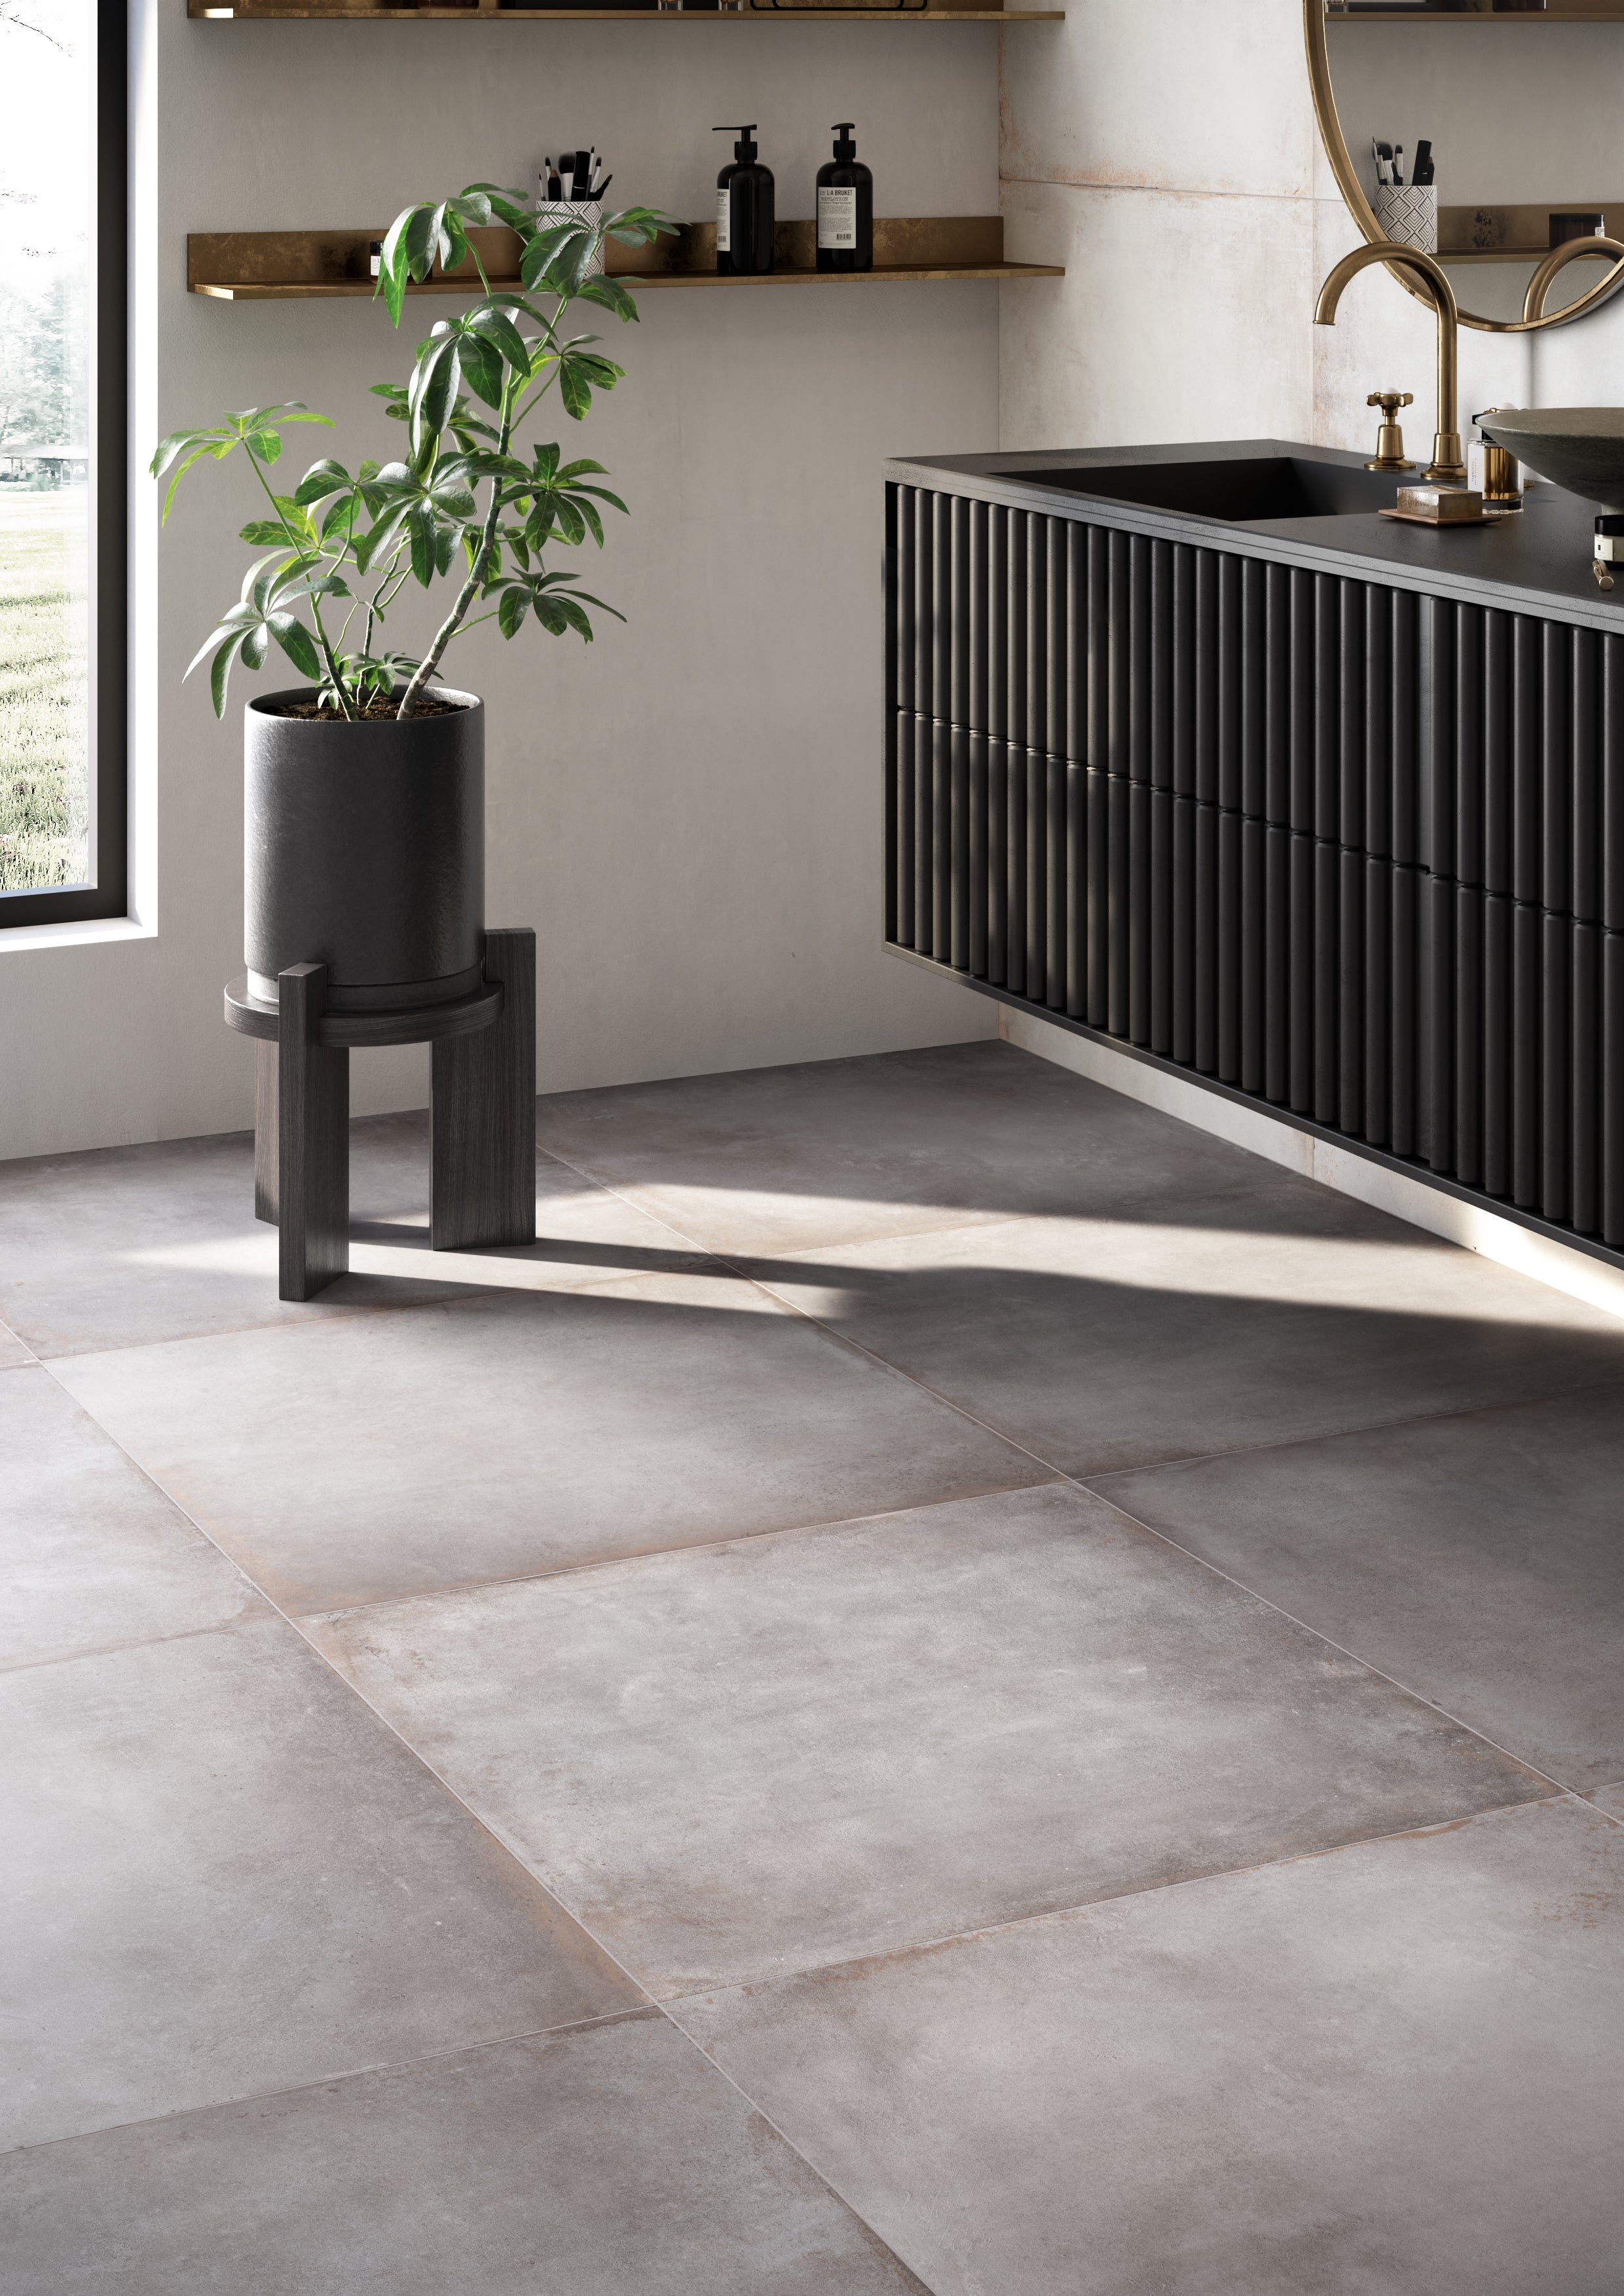
We already talked about how to install standard size floor and wall tiles, but there is another type of tiles you can consider for your renovation and they are large-scale format ones. Otherwise called panels, these tiles come in a size bigger than 40cm on any of their sides. There are some differences in installation of these larger format panels that you should consider when selecting them. We will go through them and give you some practical advice, as well as directions on how to pick the best material large tiles for your project.
Pros and Cons of Large Tiles
There are certain pros and cons to installing big tiles. On one hand, these are mostly prefered in the outdoor areas of the home and commercial projects, because of their solidity and minimalist look they produce. Larger size tiles means less time spent grouting and cleaning the excess with precision. A floor with less visible grout lines could appear more refined and sleek. But larger tiles also require some special products and methods of installation in order to have a stable and durable final result.
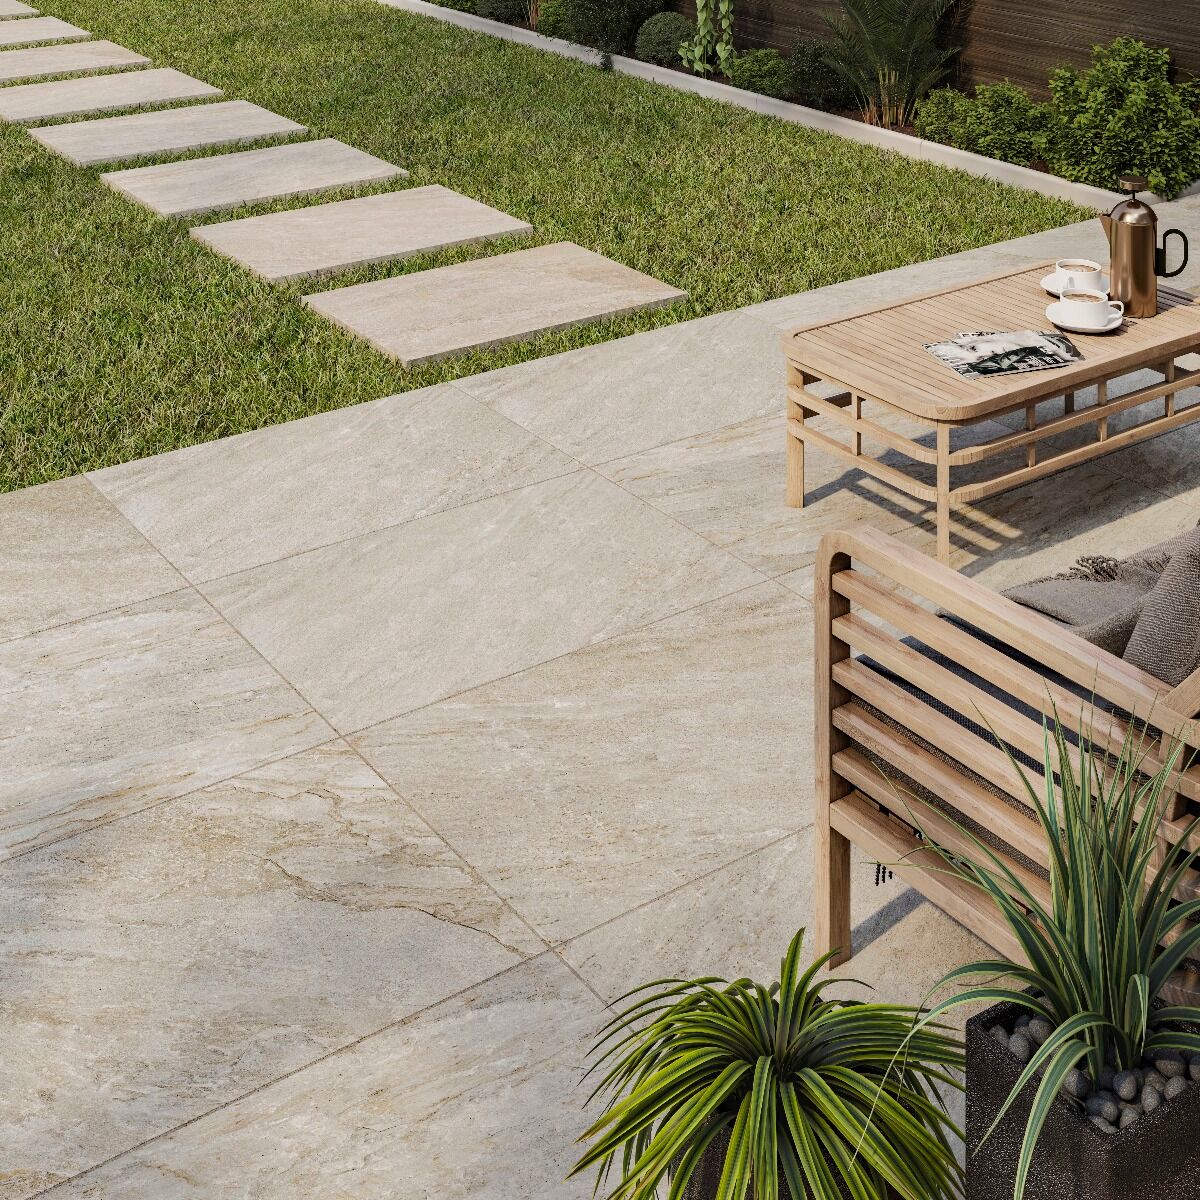
Large-size Porcelain Tiles
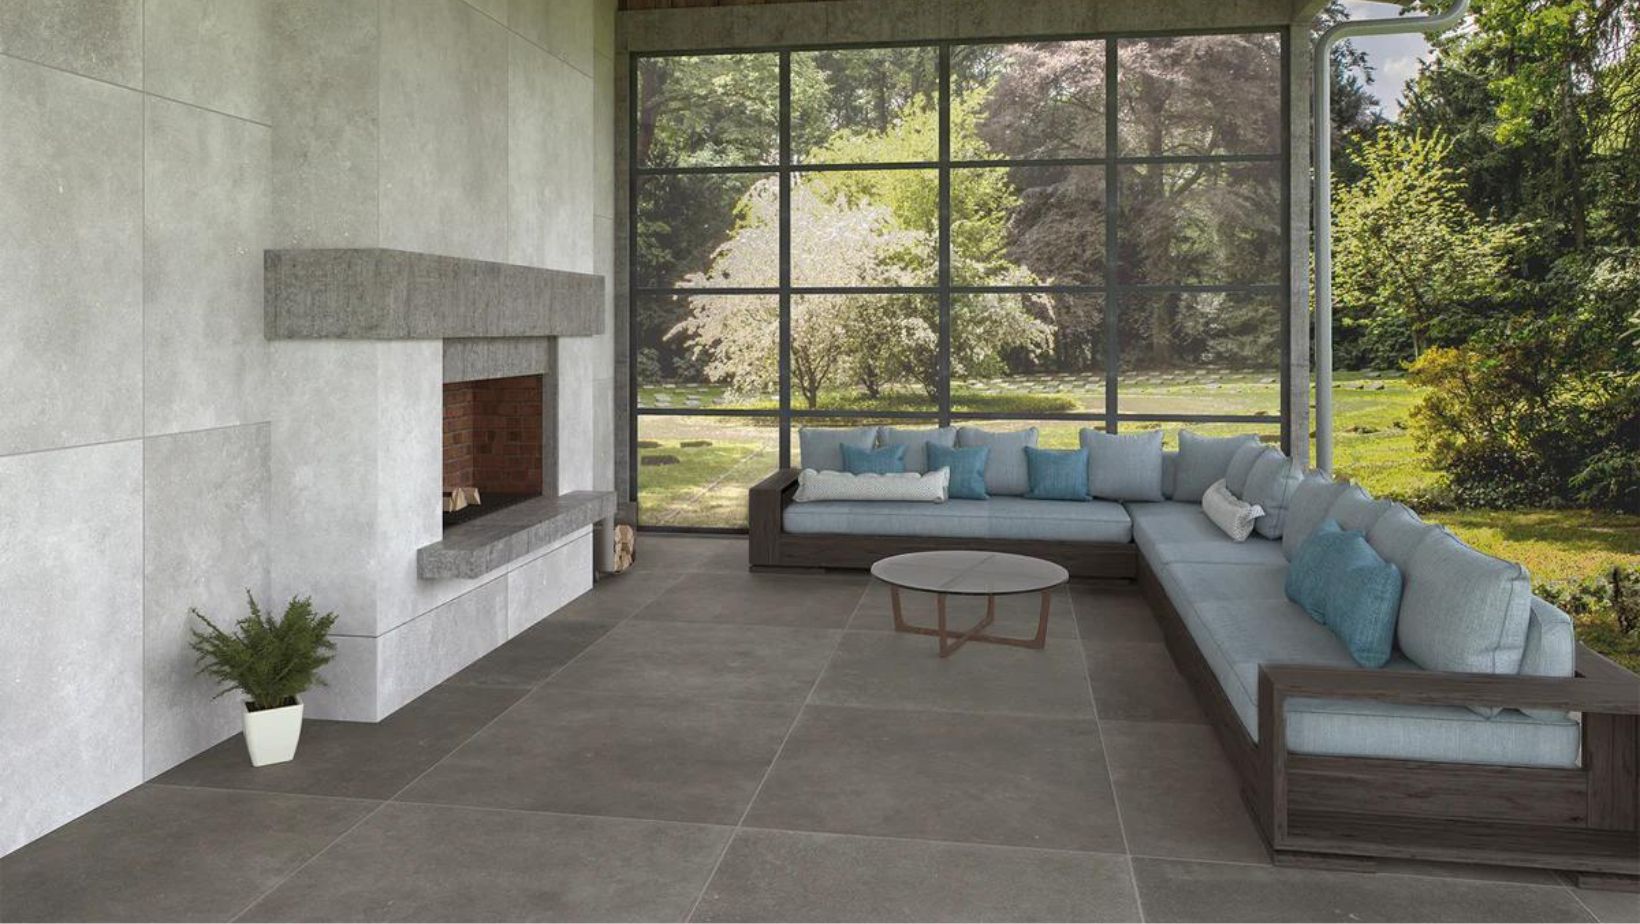
Large-scale porcelain slabs are suitable for grand outdoor and indoor projects, especially commercial installations with a luxurious atmosphere. These tiles evoke a contemporary style that is often desired for hallways, dining rooms and patio designs. The robust large frame combines very well with a marble effect for a truly beautiful and high-class appearance. The stone effect looks super realistic on large porcelain panels because they recreate the original texture and hardness of the material very well.
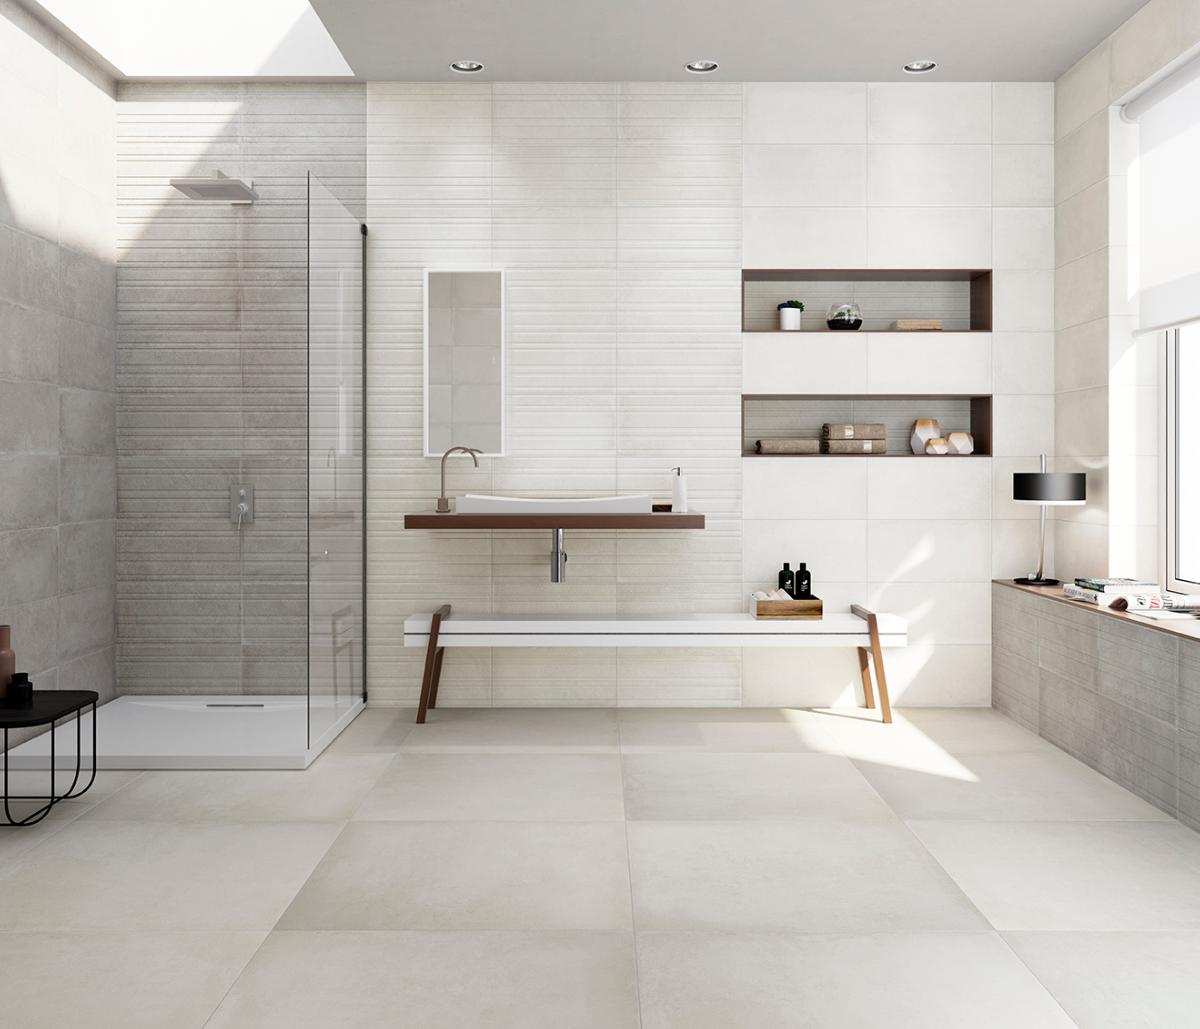
Large-size Ceramic Tiles
Larger ceramic tiles are a bit more uncommon than porcelain. Still nowadays with new technologies being developed, ceramic tiles are being produced in larger dimensions and with better resistance than ever. Large-scale ceramic tiles come with rectified edges that help to create a more smooth and seamless environment. The surfaces become aesthetically more pleasant and unified without too visible differences in the grout lines. Most ceramic tiles don’t need sealing because they are not that porous.
Applying Mortar
Some types of mortar are more suitable for large-scale tiles than others. You should look for the thinset mortar that is going to do the best job for this type of demanding installation. Large panels require specially designed mortar mix with high bond strength and resistance to sagging. Its main job is to reduce the appearance of lippages. Mix the mortar according to the instructions on the bag and stir with a trowel until the consistency is similar to that of peanut butter. Use a large square notched trowel for applying the mortar to achieve an optimal coverage. Apply by holding the trowel at a 45 degree angle and trying to make sure that the ridges of the mortar are full when spread onto the wall. Later these ridges will have to collapse when applying the tiles. Cover the entierty of the area you will be tiling by spreading the substance in lines in the same direction. This is done so the air can escape from the same way easily when the tile is being pushed onto the substance and the ridges collapse.
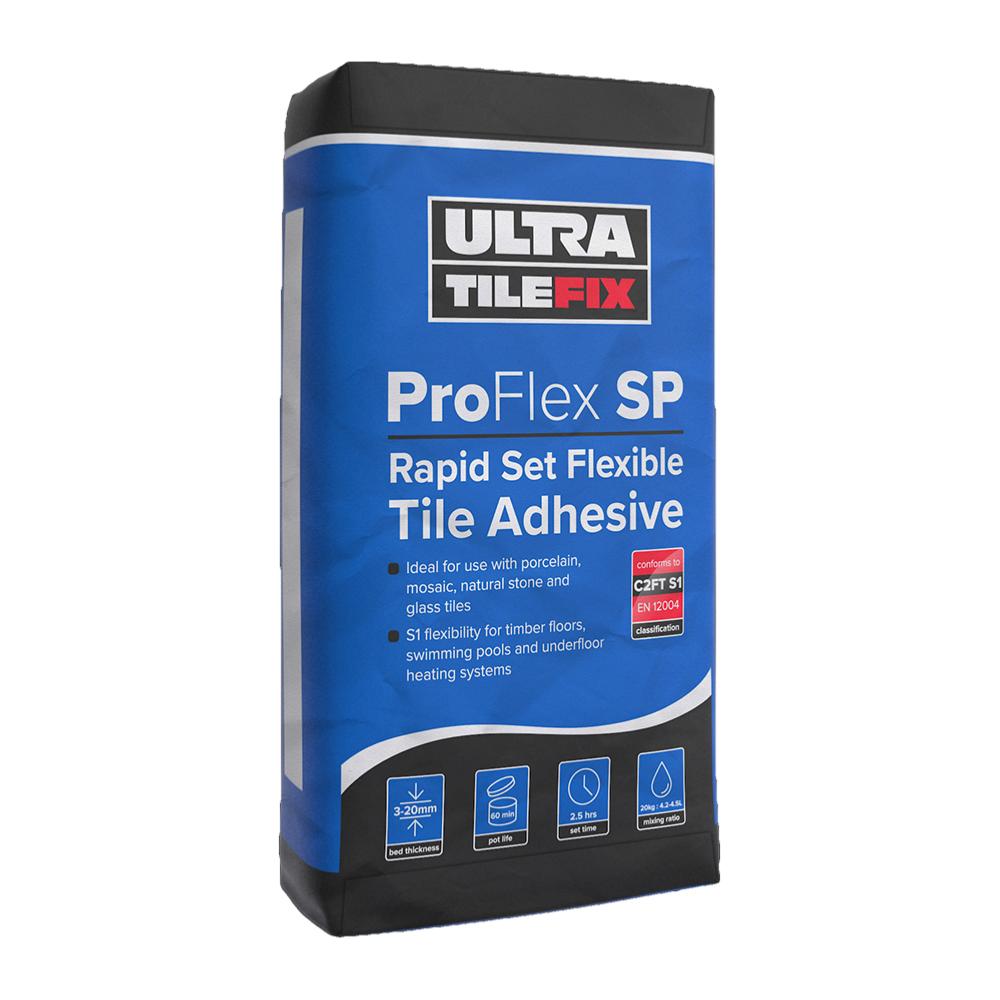
Using Adhesive with Large-scale Tiles
With large-scale tiles you should be prepared to use extra material to effectively bind the massive pieces together . Adhesive should be abundant and you will have to be ready to prepare more in the process of installation. You will most likely need to use the so-called back-buttering technique of application. It means to apply adhesive on both the substrate floor and on the back of each tile. This method ensures maximum stability in the bonding and doesn’t allow air bubbles to form and build up underneath the tiling. Apply the adhesive in straight parallel movements to fully cover the surfaces.
Applying Large-scale Tiles
You shouldn’t wait too much after setting the mortar because once it dries out you wouldn’t be able to complete the installation process with good results. Be careful and don’t allow it to skin over while installing the tiles. Also avoid removing the tiles in case something goes wrong, because there is a huge chance you will damage their surface with the wet thinset mortar. After installation you should think about bedding the tiles with special hand-held or mechanical vibrating plates for achieving better contact between tile, adhesive and substrate.
Grouting Large-scale Tiles
Grout joints should be filled up adequately with at least 2mm minimum distance between the tiles. Each joint needs to have around ⅔ of the tile’s thickness worth of grout. This is a good way to simply measure the amount but you might even need more for well sticking constructions. The grout should ideally be coordinated with the colour of the tiles to contribute to the full seamless appearance. In addition to grouting joints, you should consider leaving space for expansion joints around the tiles. Usually large panels need to be separated sufficiently from the other elements of the construction to secure and control any movements of expansion. Also in the areas where the installation meets another perpendicular surface you should consider leaving perimeter joints.
Sealing Large-scale Tiles
If you want to work with large-scale natural stone tiles, for example the popular limestone, you should seal the tiles before installation. Sometimes you need to seal again as an additional last step in the project. In this case you should wait at least 2 days after grouting before finally sealing. Not all big tiles require sealing, but you have to check with the manufacturer and the box instructions to be sure what you are buying into. For example at Tiles Ahead we have a selection of models that don’t require sealing. But unless it is stated explicitly, natural stone should be sealed for protection from staining during installation with mortar. Sometimes sealing all the tiles prior to laying them takes a lot of extra time that is not convenient for large area work.