If you are planning to install your new outdoor tiles yourself on flat concrete surface, Tiles Ahead are your perfect partner. A properly thought out installation can last a lifetime, however, it's easy to waste time and money by not preparing and planning your project accordingly. Get yourself ready by investing in the right tools and fixing products and educating yourself about every part of the process. This article will hopefully help guide you through the project step by step and, at the end, you can sit back, enjoy your results and take pride in the finished result.
Choosing the Right Outdoor Porcelain Tiles
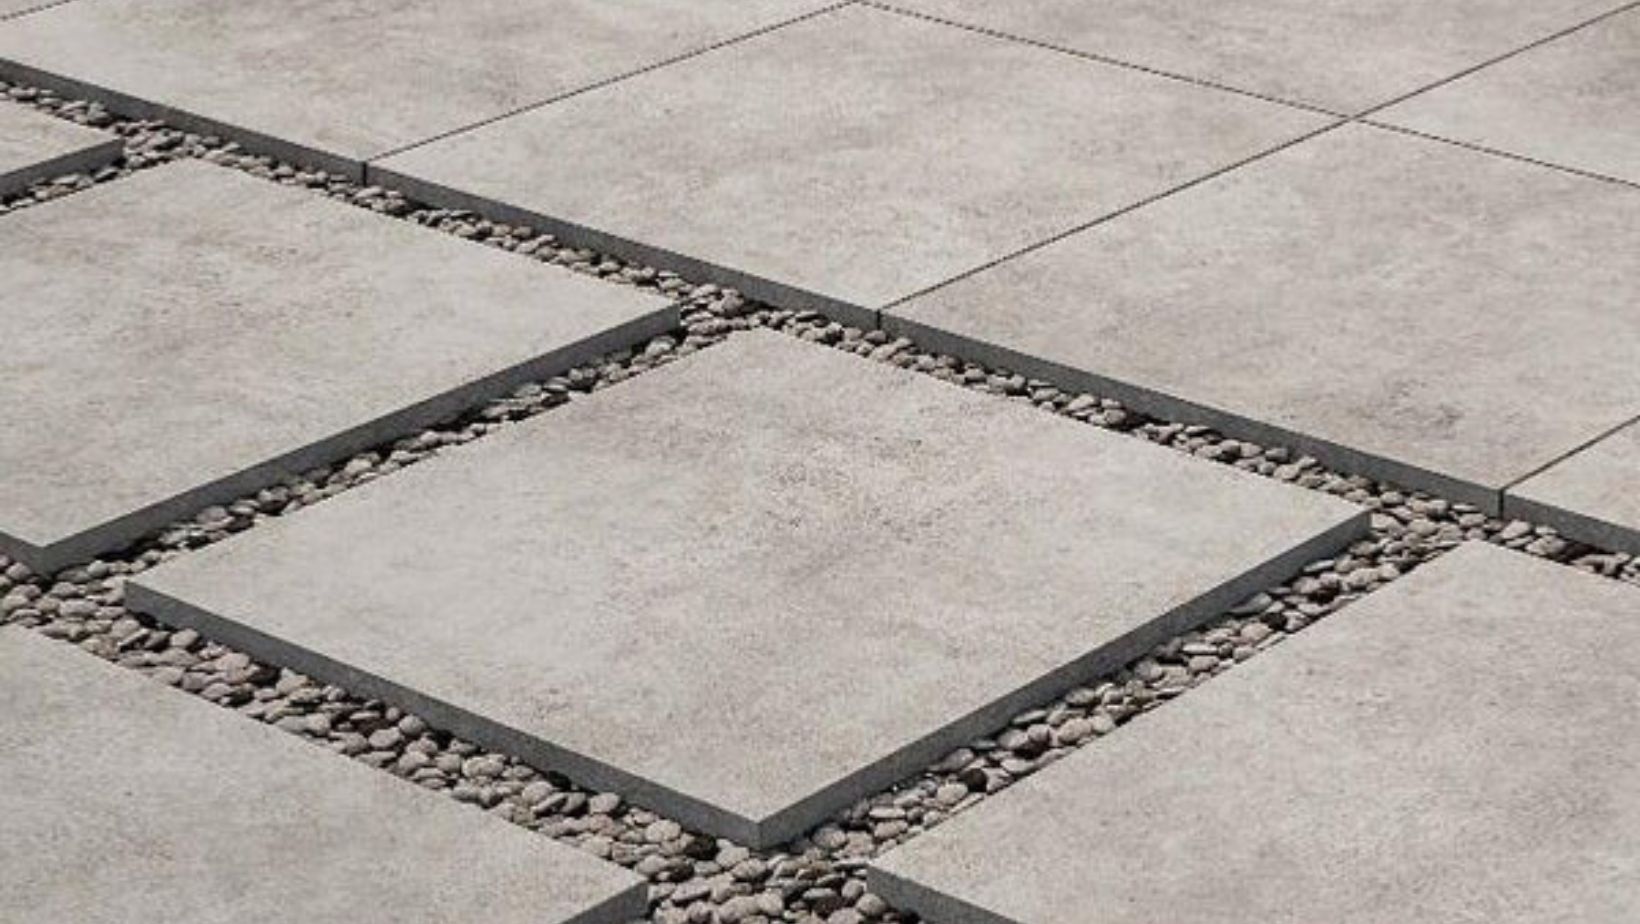
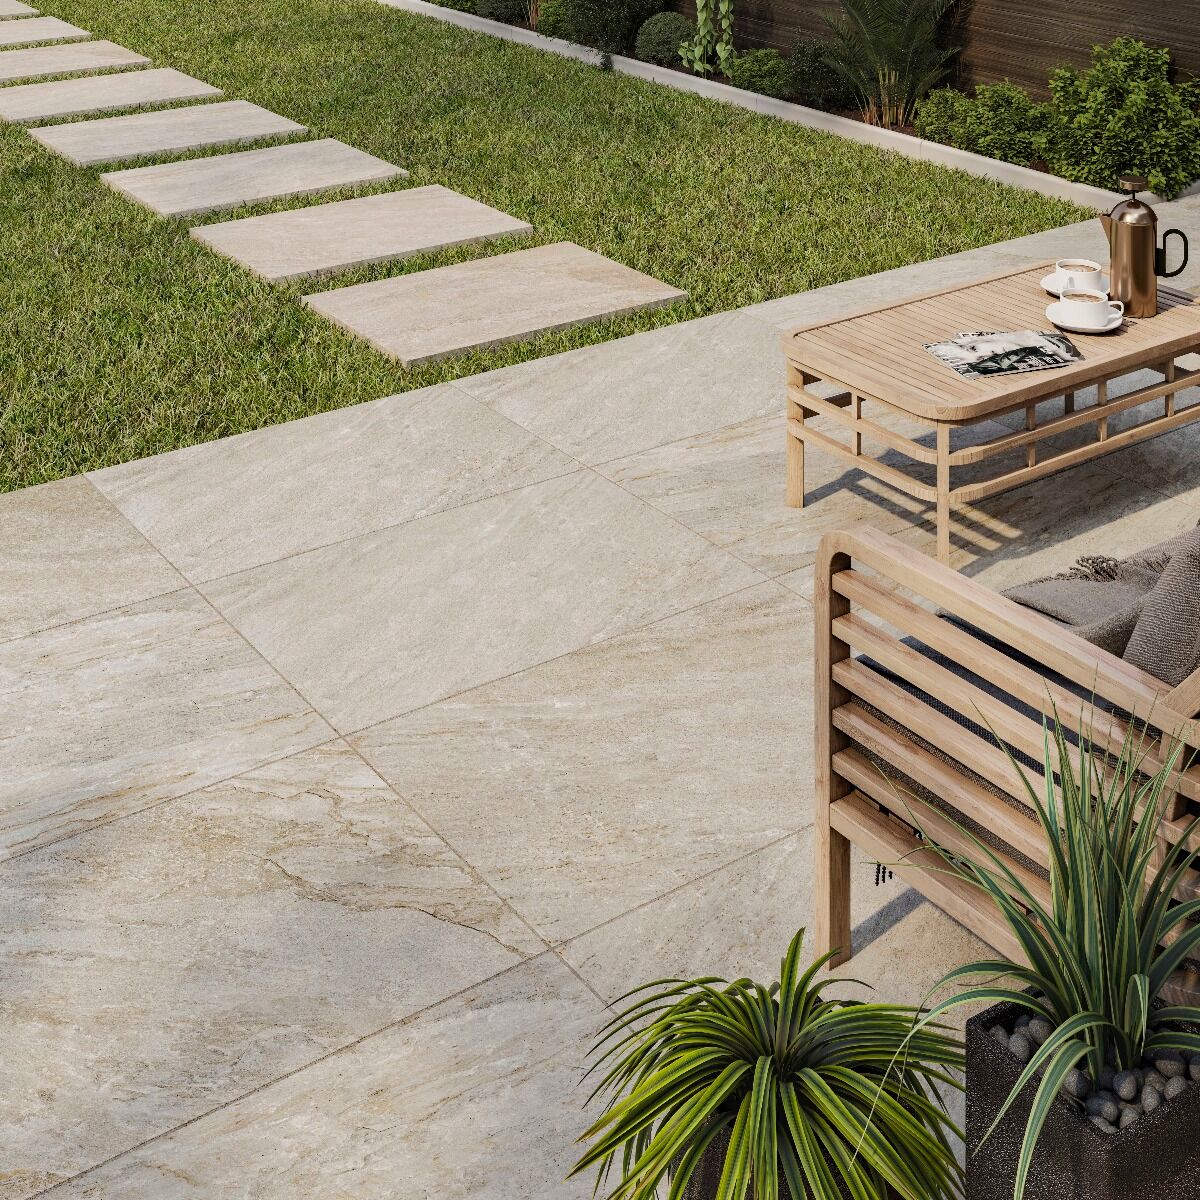
Before you start make sure you have selected the right outdoor tiles for your project from our expansive range of outdoor tiles. Apart from the design, you need to be sure that the quality of the tiles will assure long-lasting and problem-free performance outdoors. Most of our outdoor tiles are 20mm extra thick with a high rate of slip resistance and frost resistance for optimal practicality all around the dry and wet areas. For a complete installation that is sturdy and secure, you will also need the right type of fitting products and application technique. The good news for those who want simple installation is that some of our 20mm super thick outdoor models are made to be laid down dry-over gravel/grass for creating steps/paths in the grass. This way patio tiles can be applied by anyone and do not rquire any speciall assistance or adhesives/primers. In this article, we will concentrate on how to install patio tiles over flat concrete surface.

The Right Substrate
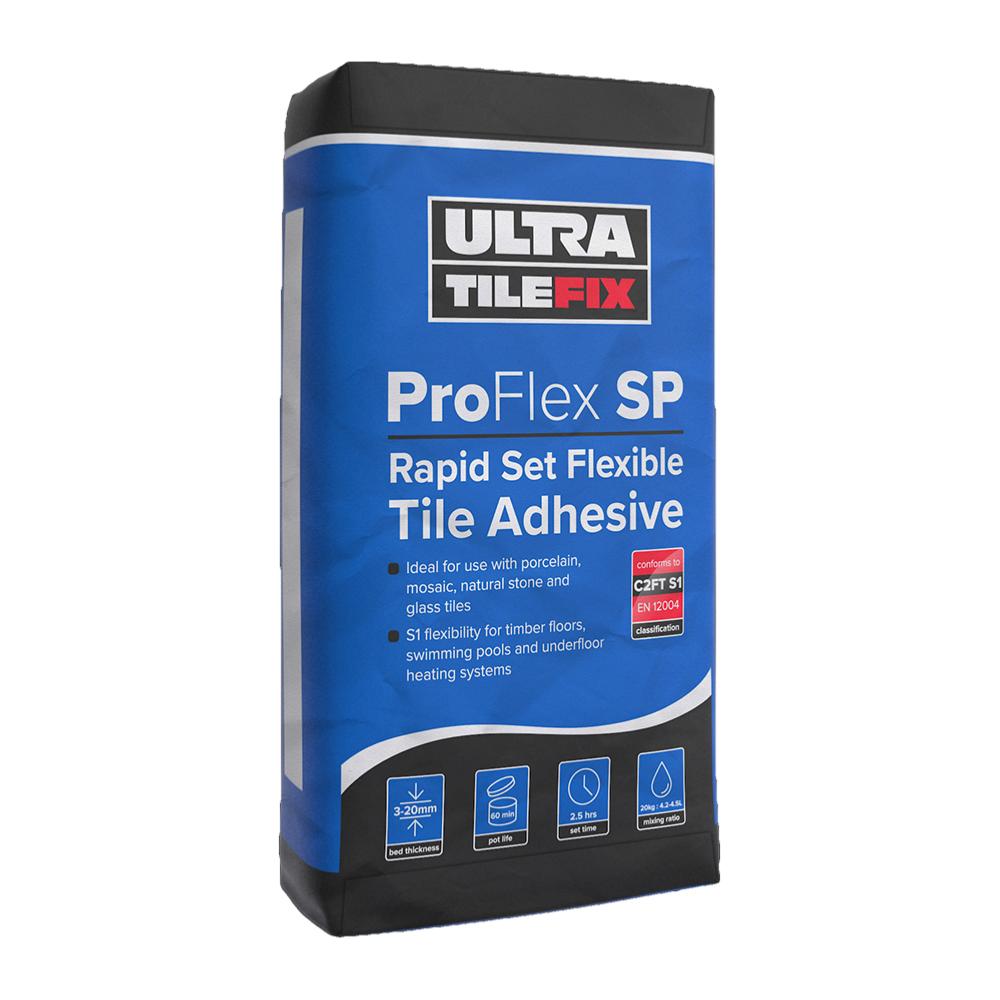
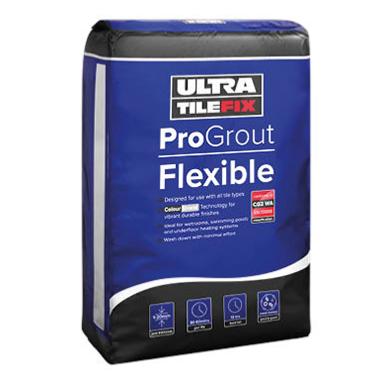
Unlike indoor installation, you do not need leveling compound for installing outsoor tiles. In this case, your concrete surface demands tile adhesive, tiles and grout. The best adhesive to use is our Ultra Tile Adhesive ProFlex S2 Fibre Reinforced 20kg and for grout we recommend Ultra Tile Pro Pave External Tile Jointing Grout 15kg wich is speacially designed for outdoor projects but also Ultra Progrout Flexible 3kg can be used.
Laying Out the Plan
Once you have selected the tiles and prepared the adhesive and grout for your installation you will need to plan your next steps. It is smart to lay out the tiles dry in advance to match them to the space and plan out the entire configuration in case you need more, less, or any other adjustments and cutting. Create seamless corners all around with a perfectly mapped out floor plan. This is also the moment when you have to lay out where your expansion joints will go. The expansion joints provide the adaptability of the installation to tile expansions due to changes in the temperature. It is a crucial detail to take into consideration for the long-term endurance of the outdoor surface. Mark out the predicted expansion joint on the substrate with a chalk line. Once you are finished with the plan on a dry surface you can continue to the next steps with confidence.

Preparing the Surface
Before any installation, you need to make sure the base is clean, filled, and levelled. If you are working with concrete first remove all the piled-up dirt and debris by scrubbing with a brush and clean the buildup oils and stains with a degreaser. Wash the surface with a garden hose and leave it to dry before proceeding with any further steps. Next, you need to create a level surface with no cracks that could later transfer onto the tile and no uneven spots that could cause water pooling. Use levelling compound to even out the slab surface. If you are installing on a concrete bed, it needs to have falls for rainwater to drain away. The best way to install on this kind of surface is by using Ultra Tile Adhesive ProFlex S2 Fibre Reinforced 20kg for external application. For a nice seamless effect with less visible grout joints, you can use rectified porcelain tiles.
Applying the Adhesive Layer
If you are installing in areas with intense vehicular traffic such as garages, driveways, and patios, it is recommended to use tile adhesive in combination with a solid screed base. Perfect for porcelain tiles, the solid mortar bed is a cost-effective option. You need to pour the mortar mix into a large bucket with the recommended amount of water and mix them with a hand trowel or an electric mixer to get a smooth texture. Only apply mortar for 15-20 tiles at a time to prevent the material from drying. Start spreading from the wall with the flat edge of the trowel and after that draw grooves for proper adhesion.

Laying the Tiles
When laying down the tiles you need to apply more of the mortar to the underside of each one, otherwise called ‘back-buttering’. This way the tiles will easily stick to the mortar just by easily pressing them down. Continue the installation in the style you have chosen and leave spacers to produce equally large gaps between for the grouting. During the application make sure to constantly check the level by resting a spirit level across the top. Once you are finished leave the mortar to dry for the recommended by the manufacturer time, usually between 12-48 hours. After drying remove the spacers and use a scraping tool to clean off the excess adhesive.
Grout and Wash
The next step is mixing the grout with water in a bucket until a smooth consistency is produced. Spread the mixture with the grout trowel into the gaps between the tiles until they are filled. After 30 minutes wash the first tile you grouted with a wet grout sponge. Clean the excess grout from the tiles’ surface by using a delicate circular motion, without pushing out the grout from the gap. Repeat this step with a clean wet sponge until the excess grout is cleaned completely. After which it’s time to finally caulk the expansion joints.
Other Outdoor Installation Methods
Let’s look at three other options you might prefer to the classic mortar bed.
Wet bed Installation
You can apply this method, often preferred by professionals by adding some extra preparations. When using vitrified tiles, you have to create a suitable sub-base in order for the porcelain material to stick. You can use a primer strictly on the underside of each tile to prevent any residual moisture build up in the crevices. The other option is to add an admix to the sand and cement bed for a sturdy sub-base.

Adjustable Pedestals Installation
Self-leveling pedestals are a great adaptable choice for roof terraces and balconies without the need for using adhesives or grouts. Each pedestal’s height can be adjusted after the tiles have been installed by using extension pieces. This dry installation leaves the joints open and provides easy drainage.
4 comments
Tile Setters Vancouver
Great Post! “How to Lay Outdoor Tiles on a Flat Concrete Surface” offers practical and essential tips for a successful outdoor tiling project. From surface preparation to choosing the right adhesive and grout, this guide ensures your tiles stay secure and look great in all weather conditions. A valuable read for DIYers and professionals alike!
Tile Installers Portland Oregon
Laying outdoor tiles on a flat concrete surface is a great way to upgrade any outdoor space. Your step-by-step guide makes the process clear and easy to follow. Thanks for sharing these helpful tips!
Ryanco Concrete Construction
Great insights on DIY outdoor tile installation! 🛠️ The emphasis on preparation and choosing the right products is crucial for a successful project. I appreciate the detailed advice on selecting durable tiles and the recommended adhesives and grout. This guide is a valuable resource for anyone looking to enhance their outdoor space with a professional finish. Can’t wait to see the results from following these steps!
Sona Gupta
Very informative and useful post. Thanks for sharing.
If you are looking for best floor tiles, visit https://www.lavishceramics.com/